A properly maintained chimney not only enhances your home’s safety but also ensures its efficiency. Over time, exposure to the elements and general wear can cause damage that, if ignored, may lead to costly chimney repair near Chicago or even serious hazards.
To prevent expensive fixes, it’s important to recognize the warning signs early. Here are some key indicators that your chimney needs attention before the problem worsens.
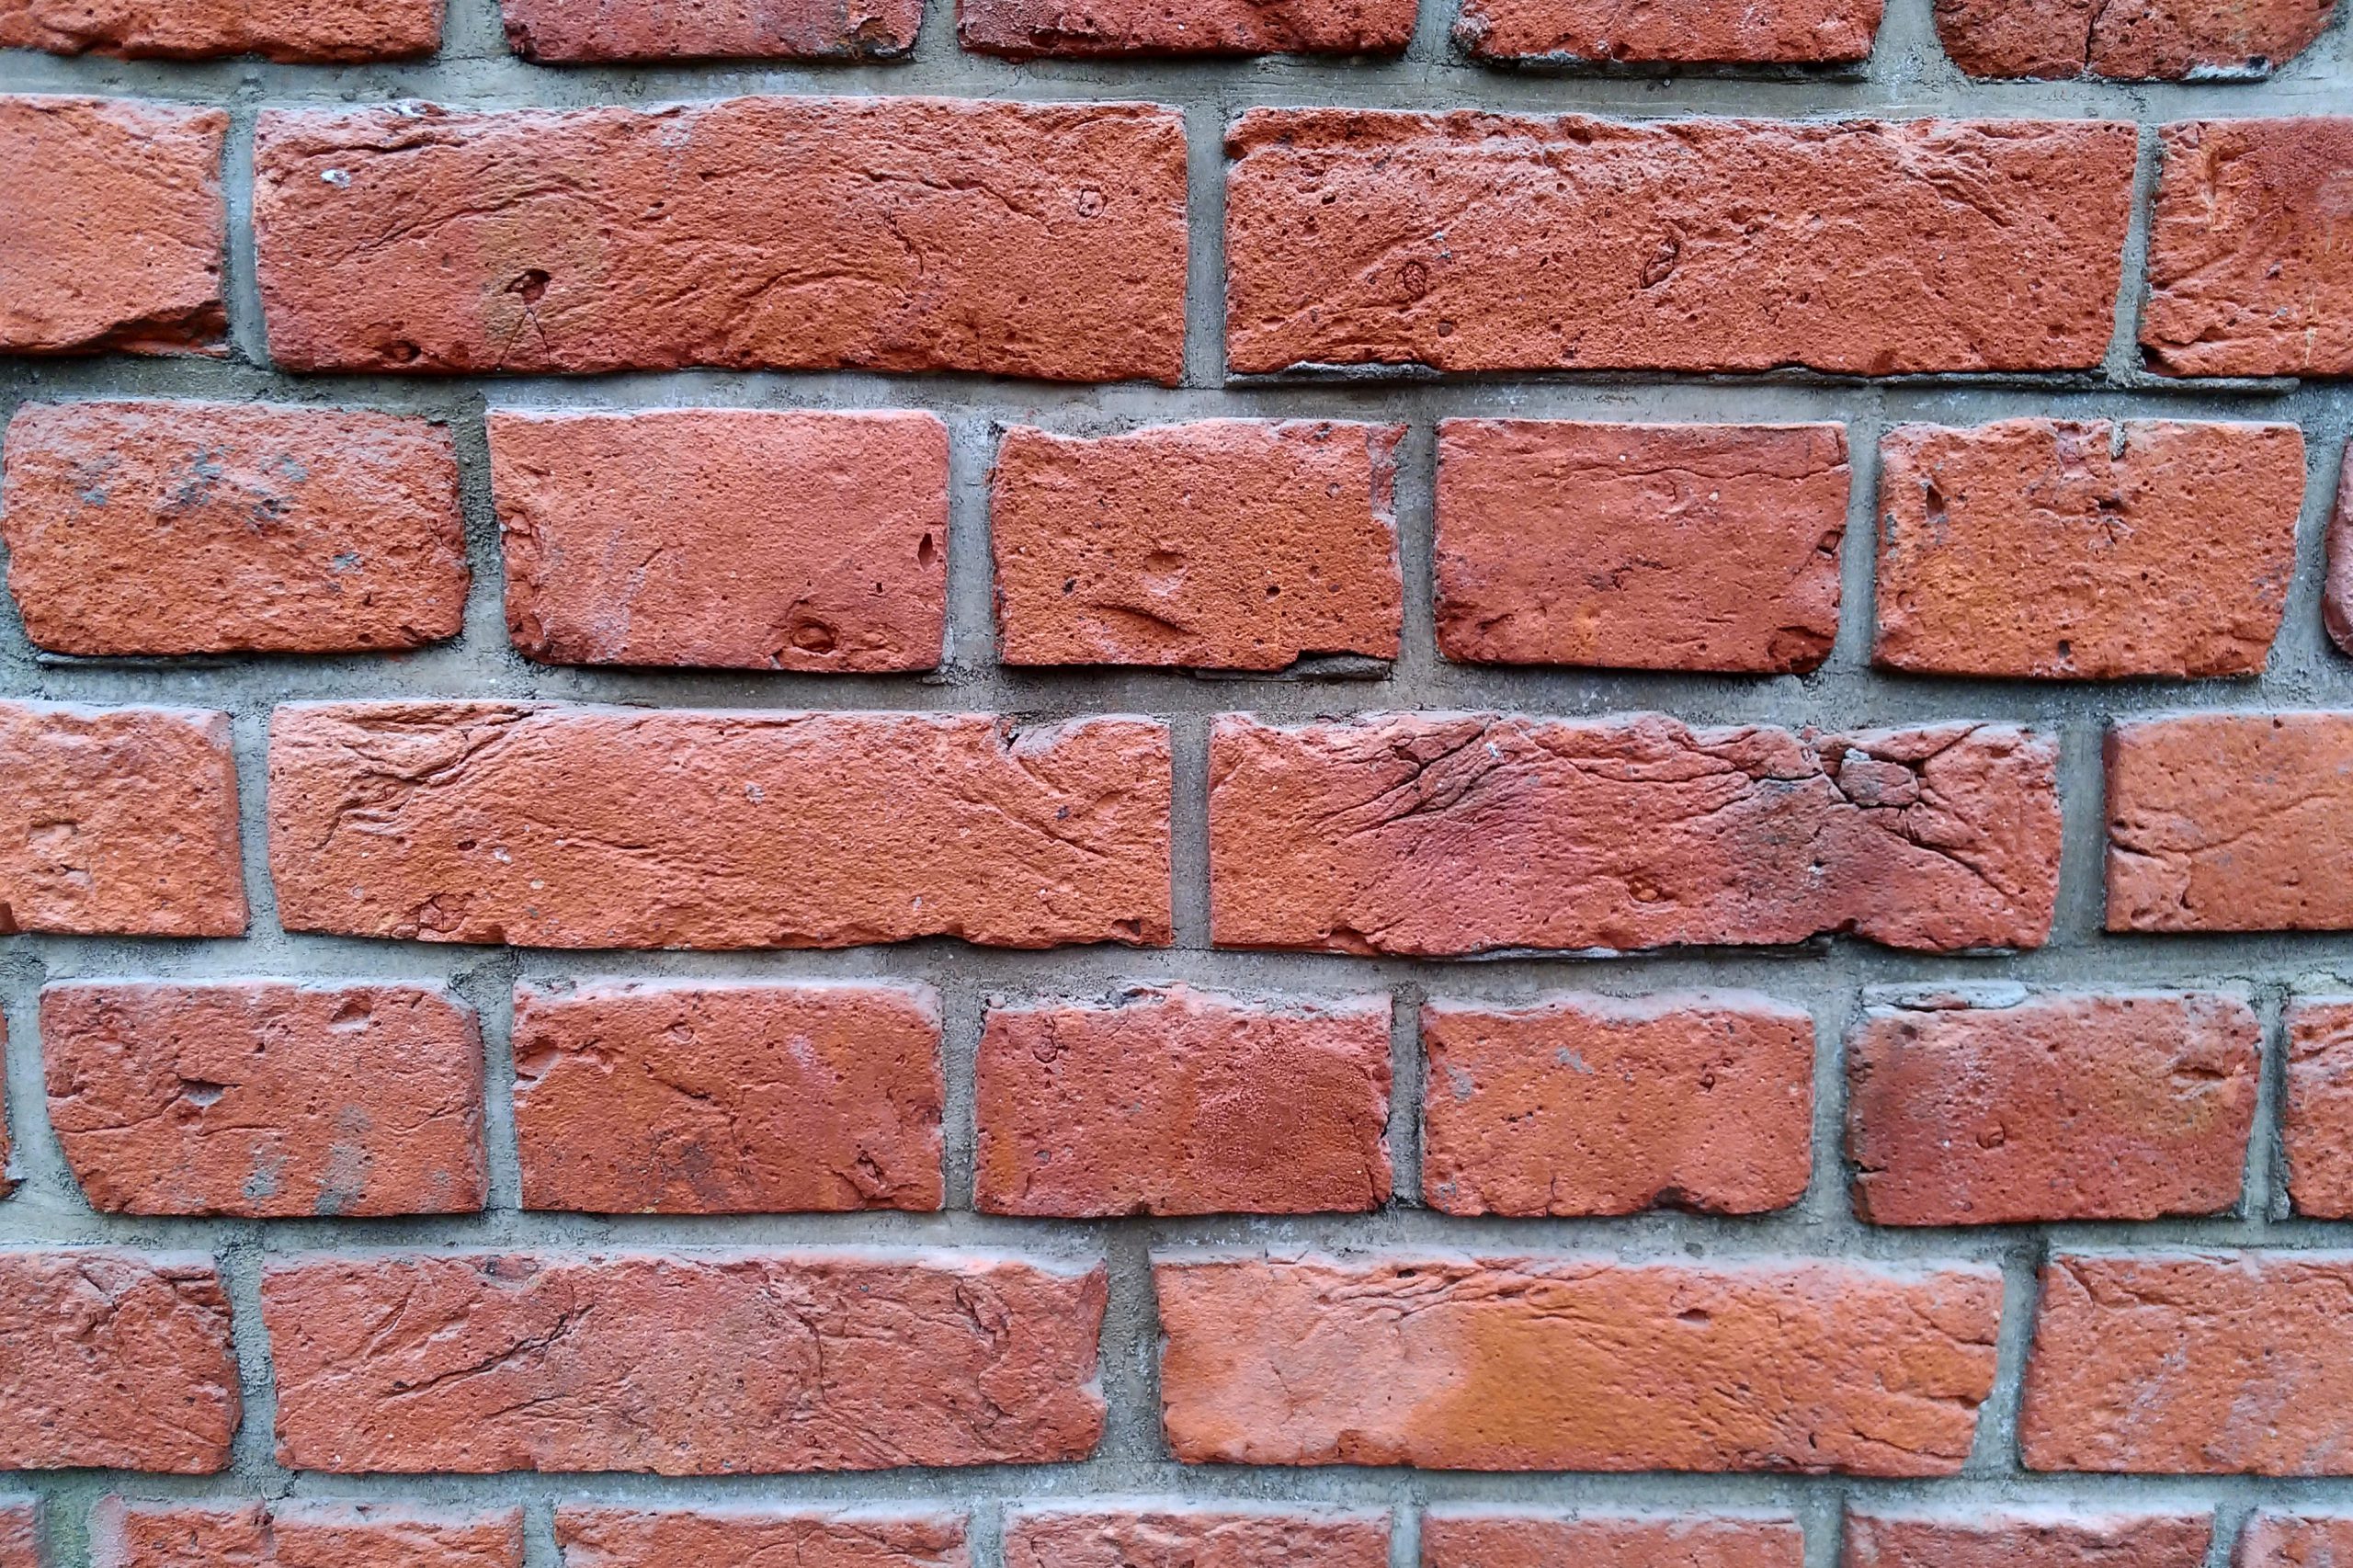
1. Cracked or Deteriorating Mortar Joints
The mortar that holds your chimney’s bricks together naturally wears down over time due to weather conditions, moisture, and age. If you notice cracks, gaps, or crumbling mortar, it’s a clear sign that repairs are needed.
Why You Should Act Quickly:
Weak or missing mortar allows water to seep into the structure, leading to further damage. If left untreated, the chimney could become unstable, requiring more extensive repairs. Tuckpointing—replacing the damaged mortar—can help preserve its integrity.
2. Flaking or Crumbling Bricks (Spalling)
Spalling happens when moisture penetrates the bricks, causing them to crack, flake, or even break apart. This issue is particularly common in colder climates, where the freeze-thaw cycle accelerates the damage.
Why You Should Act Quickly:
Damaged bricks compromise the stability of the chimney. Replacing affected bricks and applying a waterproof sealant can prevent further deterioration.
3. White, Powdery Deposits (Efflorescence)
A chalky white residue on your chimney, known as efflorescence, is caused by moisture seeping through the masonry and leaving behind salt deposits. While it may seem like a minor issue, it’s a sign that excess moisture is present inside the chimney.
Why You Should Act Quickly:
Efflorescence indicates that water is damaging the brickwork, potentially leading to long-term structural problems. Addressing moisture intrusion and sealing the chimney can prevent further issues.
4. Rust on the Chimney Cap or Flashing
The chimney cap and flashing play a crucial role in keeping out rain, snow, and debris. If you see rust forming on these metal components, it’s a sign that moisture is making its way inside.
Why You Should Act Quickly:
Rust and corrosion can lead to leaks, which may cause water damage in both the chimney and the surrounding areas of your home. Replacing the cap or repairing the flashing can prevent costly water-related issues.
5. Cracked or Damaged Chimney Crown
The chimney crown is the protective concrete slab at the top of the chimney. Its purpose is to keep moisture from penetrating the chimney’s interior. If you notice cracks or missing pieces, it means water is getting inside.
Why You Should Act Quickly:
A compromised chimney crown accelerates brick deterioration and can lead to costly repairs. Sealing or replacing it helps extend the lifespan of your chimney.
6. Smoke Entering Your Home
If smoke from your fireplace is backing up into your home instead of venting properly, it could indicate a blockage, excessive creosote buildup, or even internal structural damage within the chimney.
Why You Should Act Quickly:
Improper ventilation poses a serious safety risk, including carbon monoxide exposure. Scheduling a professional inspection and cleaning ensures safe airflow and prevents dangerous conditions.
7. Strong Odors or Excessive Creosote Buildup
A persistent, smoky smell coming from your fireplace—especially in humid conditions—can be a sign of creosote buildup. Creosote is a highly flammable substance that accumulates inside the chimney when wood is burned.
Why You Should Act Quickly:
Excessive creosote increases the risk of chimney fires. Regular chimney cleanings, at least once a year, help maintain proper airflow and reduce fire hazards.
Addressing chimney issues early can prevent costly repairs and keep your home safe. If you’ve noticed any of these warning signs, don’t wait—chimney repair now can save you from bigger problems in the future.